I ran a loose paper system for three years. Receipts in a drawer, contracts in a folder I could never find, bank statements stacked on the corner of the desk. Every January, when it was time to pull together anything tax-related, I spent a full afternoon sorting paper I had already handled twice. If you recognize that routine, this guide is for you. The whole system takes about two hours to set up and ten minutes a week to maintain.
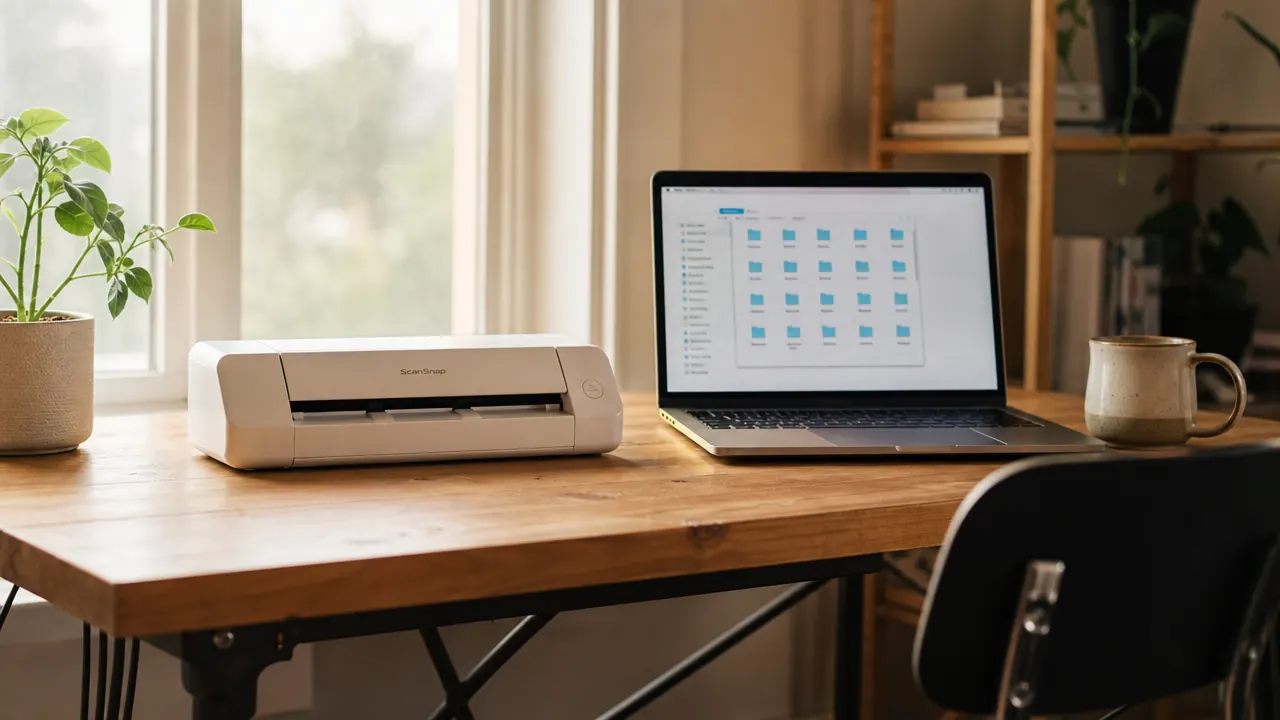
The Epson WorkForce ES-50 is the scanner I use and the one I recommend for a small home office. It is portable, USB-powered, takes up about as much desk space as a hardback book, and it scans a standard receipt in roughly three seconds. If you want the full breakdown before committing, the long-term ES-50 review covers speed, software, and a few real complaints. For now, the short version: it is a solid match for this task.
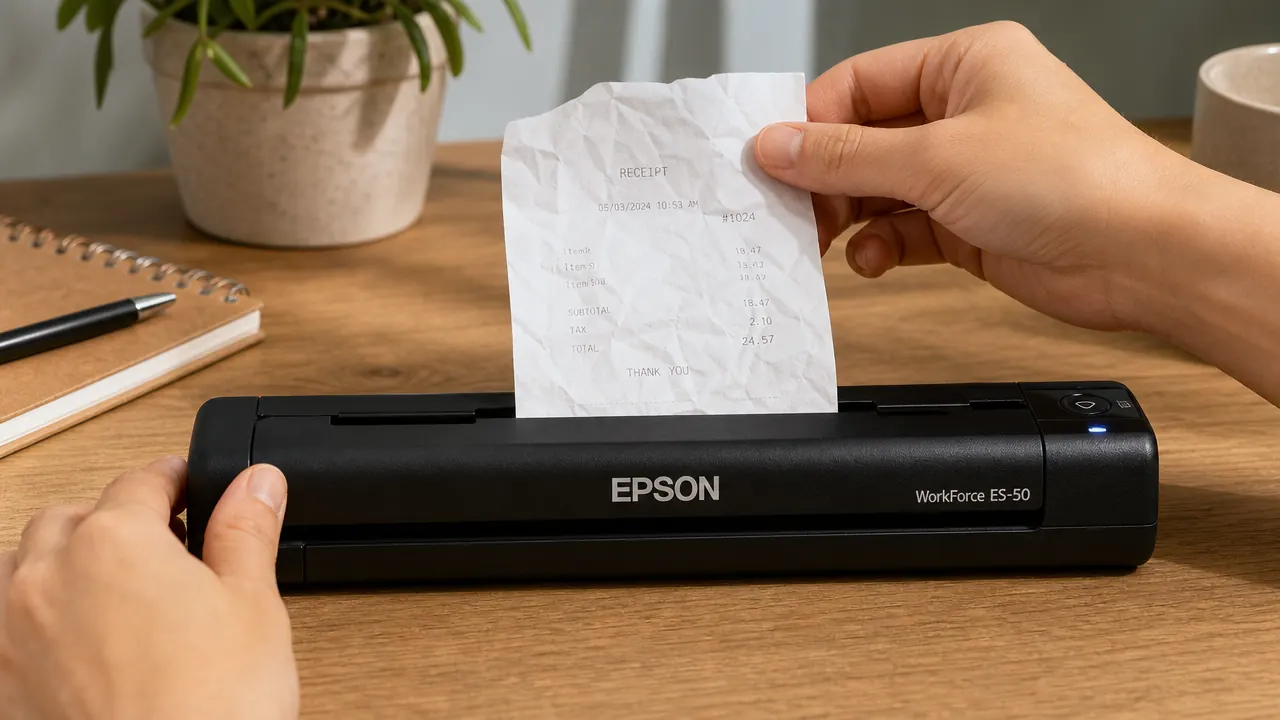
Your tax documents shouldn't live in a shoebox. The ES-50 fits on any desk and solves the problem for good.
The Epson WorkForce ES-50 is portable, USB-powered, and scans receipts in seconds. Rated 4.3 stars across 5,800-plus reviews on Amazon.
Amazon Check Today's Price on Amazon →Step 1: Pick a Scanner That Actually Fits the Job
Most people buying a home office scanner are not running a law firm. They are scanning receipts, occasional contracts, a lease, maybe the odd insurance document. For that volume, a flatbed scanner is overkill. It is big, slow, and you have to lift a lid for every single sheet. A sheet-fed scanner is the right tool here. You feed the document in, it scans and ejects, and you are done.
The Epson ES-50 fits this job well. It measures roughly 10.8 inches long, which means it sits beside a laptop without crowding the desk. It connects via USB-C on the scanner end and runs without a power adapter. The bundled Epson ScanSmart software handles both the scan and the file-naming prompt in one step, which matters because that friction is exactly what causes people to defer scanning and let the pile grow. If you want to see how it compares to the other main option in this price range, I covered that in the portable scanner article.
One honest limitation: the ES-50 is single-sided only. If you regularly scan double-sided documents, you will need to flip them manually or look at the ES-55R, which adds an auto-reversing feed. For receipts and most home office paper, single-sided is fine.
Step 2: Build Your Folder Structure Before You Scan Anything
The folder structure is the part most people skip. They scan a receipt, save it to the desktop, and immediately lose it again in a different way. Spend ten minutes here before you touch the scanner and you will never have that problem.
The structure that has worked best for me is two levels deep: year at the top, category inside. On a Mac it lives in iCloud Drive under a folder called Home Office. On a Windows machine, put it in OneDrive or Google Drive Backup so it syncs automatically. The categories I use: Receipts, Contracts, Statements, Taxes, and Insurance. That covers 95 percent of what ends up on my desk. If you have a specific category that shows up constantly in your work, add it. If something shows up only occasionally, file it under Receipts or Contracts rather than creating a folder you will check twice a year.
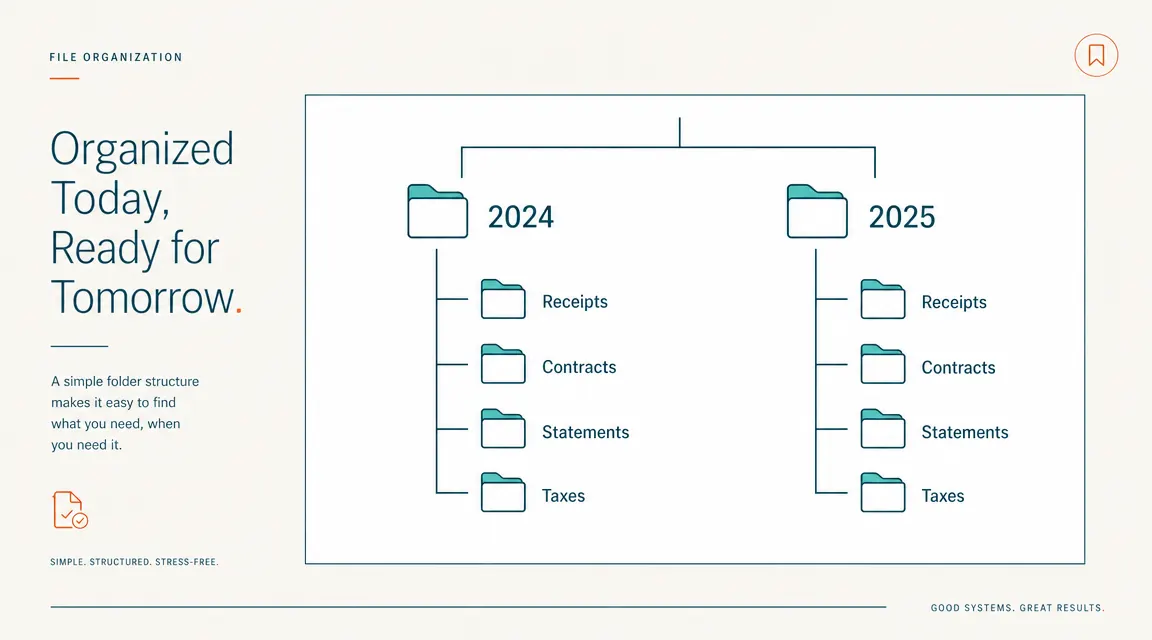
The structure looks like this: 2024 contains Receipts, Contracts, Statements, Taxes, Insurance. Then a 2025 folder with the same five subfolders. Create the current year folder now. Create last year's folder if you have a backlog to clear. Do not create future years in advance. You will do it when you need it.
Step 3: Name Files Consistently So You Can Find Them Later
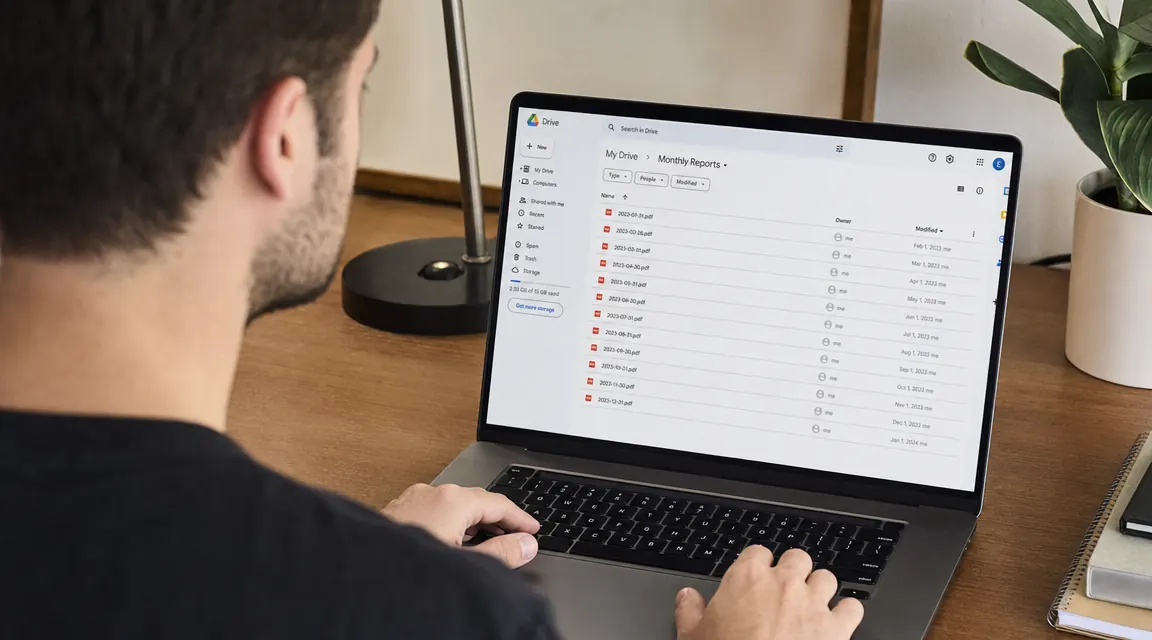
File naming feels like a small detail until you are searching for a specific receipt from eight months ago. The format I use is date-first: YYYY-MM-DD_description. So a receipt from a desk lamp purchase on April 3rd, 2025 becomes 2025-04-03_desk-lamp-amazon. A phone bill from February becomes 2025-02-15_verizon-statement.
Date-first naming does two things. It sorts files chronologically by default without any extra work. And it makes it fast to scan a folder visually and find the quarter or month you are looking for. Avoid naming files things like receipt1.pdf or scan_003.pdf. You will not remember what those are in six months. The description after the date only needs to be long enough to jog your memory. Short and specific beats long and vague.
The folder structure is the part most people skip. They scan a receipt, save it to the desktop, and immediately lose it again in a different way. Spend ten minutes on the structure first.
Step 4: Scan with OCR On
OCR stands for optical character recognition. It means the PDF that comes out of the scan is searchable. You can open your finder or file explorer, search for a vendor name, and the file will show up even if the filename does not include that word. On the Epson ScanSmart software, OCR is a toggle in the settings. Make sure it is on before you start.
For receipts specifically, scan at 300 DPI. That resolution captures all the text clearly without inflating the file size. A typical receipt scans to a PDF of around 150 to 300 kilobytes at 300 DPI. A contract page runs about 300 to 500 kilobytes. At those sizes you can store several years of documents in a folder that takes up less than 500 megabytes total. Cloud storage is not an issue.
Epson ScanSmart will prompt you to name the file immediately after each scan. Use the naming convention from Step 3 right here. Do not save the scan as whatever the software suggests and plan to rename it later. Rename it now, before you scan the next document. That two-second habit keeps the folder clean.
Step 5: File It Immediately Into the Right Subfolder
After naming the file, move it directly into the correct subfolder: receipts go into 2025/Receipts, statements into 2025/Statements, and so on. Do not use a holding folder called Inbox or To Sort. That folder becomes a second pile on your computer instead of a first pile on your desk, and you will never clear it.
If you use Epson ScanSmart, you can set a default save location in the preferences. Point it at your 2025 folder and it will ask you which subfolder each time, or just scan directly to the Receipts folder during a receipt session and the Contracts folder during a contract session. Batch by type when you can. If you have six receipts from the past week, scan all six at once, rename them consecutively, and file them in one motion.
Step 6: Back Up to Cloud Automatically
If your Home Office folder lives inside iCloud Drive, Google Drive, or OneDrive, it is already backing up. That is the entire reason to put it there instead of on your local desktop. Verify the sync is working by checking for the cloud sync indicator on the folder. On a Mac with iCloud Drive, you will see a checkmark or a small cloud icon next to each folder. On Windows with OneDrive, the green checkmark means it is synced.
Do not rely on a local backup alone. Hard drives fail. Laptops get lost. The point of scanning is not to trade a paper pile for a local digital pile. The point is to have documents that are accessible from anywhere and that cannot be destroyed by a spilled coffee. Cloud sync is what closes that loop. iCloud gives you 5 GB free, which is more than enough for years of scanned documents. Google Drive gives you 15 GB free. Either works.
Step 7: Set a Weekly 10-Minute Scan Ritual
The system falls apart if you only scan when the paper pile gets too tall to ignore. The fix is a recurring ten-minute block, same time every week. I do mine on Friday at the end of the workday. Everything that landed on my desk that week, including receipts from errands, mail that needs to be kept, anything I signed or received, gets scanned in one session.
Ten minutes is enough because the ES-50 scans a receipt in about three seconds. Even with naming and filing, you can process fifteen to twenty documents in ten minutes. If you let it go two weeks, it might take twenty minutes. If you do it weekly, it never feels like a chore. Block it on your calendar. Do not make it optional. The habit is the system.
Step 8: Export for Tax Time Without Stress
When January arrives and you need to pull together your deductible expenses, all your receipts are already in one folder sorted by date. Open 2024/Receipts, sort by name (which sorts by date because of the naming convention), and you have a complete chronological record ready to hand to your accountant or import into your tax software.
If your accountant needs a folder of just the business receipts, duplicate the Receipts subfolder, remove anything personal, and send the folder as a zip file or share it via a cloud link. No more photographing crumpled receipts in February. No more missing deductions because a receipt was in a coat pocket. The work happened in ten-minute increments through the year. Tax time is just retrieval.
Step 9: Decide What Paper to Keep and What to Shred
Once a document is scanned, backed up to cloud, and confirmed to be readable, you generally do not need the paper original. For most receipts and general correspondence, scan and recycle. There are a few categories where it is worth keeping the original: anything with a notarized signature, original deeds or titles, some insurance documents, and most government-issued certificates. When in doubt, scan and keep the paper for one tax cycle. If you never needed the paper version, shred it the following year.

For sensitive documents like tax returns, contracts, and bank statements, shred rather than recycle. A cheap cross-cut shredder handles home office volume without any trouble. The goal is to reduce the physical paper footprint to a single small folder of true originals you actually need in paper form, with everything else living in the cloud folder.
What Else Helps
A good scanner solves most of the friction in this system, but a few other things make it run smoother. A small desktop inbox tray gives paper somewhere to land during the week so it does not spread across the whole desk. One tray, one spot, one weekly processing session. When the tray is empty after Friday's scan session, the desk stays clear.
PDF expert apps like Adobe Acrobat or the free PDF Squeezer on Mac let you batch-compress a folder of scans once a year if storage ever becomes a concern. It rarely will at 300 DPI, but it is a useful tool to know about. For most home offices, the basic folder structure, weekly habit, and cloud sync are everything you need. The system is simple on purpose. Complex systems get abandoned.
If you want a fuller picture of why a portable scanner is worth having in a small home office even when you are not buried in paper, the 10 reasons article lays that out. And if you are still deciding on the ES-50 specifically, the long-term review covers what I like about it, what I do not, and who it is actually a good fit for.
Ten minutes a week is enough to keep the system running. That is the whole trick. If you try to do it monthly, it becomes a project. Weekly, it stays a habit.
The paper pile on your desk is a solved problem. The ES-50 is how you solve it.
Portable, USB-powered, fits beside any laptop. The Epson WorkForce ES-50 has 5,800-plus reviews and scans a receipt in seconds. This is the scanner that earns its desk spot.
Amazon Check Today's Price on Amazon →